How to Use Crutches for Weight Bearing: The Complete Guide to Safe Recovery
If you've just been handed a pair of crutches and told you're non weight bearing, or partial weight bearing, or that you can progress to full weight bearing as tolerated, you've probably also been given about four minutes of instruction and sent on your way.
Those instructions matter more than four minutes suggests.
How you use your crutches during recovery directly affects how quickly and comfortably you heal, how much strain goes through your hands, wrists, and shoulders, and whether you end up with secondary aches and injuries on top of whatever you're already managing. This guide covers everything your discharge nurse probably didn't have time to tell you.
What Does Weight Bearing Actually Mean?
Weight bearing refers to how much load you're putting through your injured leg when you stand or walk. Your surgeon or physiotherapist will give you a specific instruction, and it matters that you follow it precisely, because the bone, tissue, or joint you're protecting has very specific healing requirements.
The main categories are:
Non weight bearing (NWB). No weight at all through the affected leg. Your foot should not touch the ground during movement. This is the most restrictive instruction and typically follows surgery where the repair needs to be completely protected, such as after certain fractures, ligament reconstructions, or joint replacements in the early stages.
Toe touch weight bearing (TTWB). Your foot can touch the ground for balance only, but no weight should be transferred through it. This sounds straightforward but is genuinely difficult to maintain consistently, especially when fatigued.
Partial weight bearing (PWB). You can put some weight through the affected leg, typically expressed as a percentage (10%, 20%, 50% of your body weight) or described as "comfortable partial weight bearing." Your physiotherapist may use scales to help you learn what the target weight feels like.
Weight bearing as tolerated (WBAT). You can put as much weight through the leg as is comfortable. Pain is your guide. This is often the instruction given in the later stages of recovery as you progress toward normal walking.
Full weight bearing (FWB). Normal weight distribution through both legs. You may still use crutches for balance and confidence even at this stage, particularly on stairs or uneven surfaces.
If you're not sure which category you're in, ask. The distinction between NWB and TTWB, for example, is clinically significant and worth clarifying before you leave hospital.

How to Set Up Your Crutches Correctly
This is the step most people skip, and it causes more problems than any technique issue.
Height adjustment. Stand upright in your normal footwear. The handle of your crutch should sit at wrist height, with your arm hanging naturally at your side. When you hold the handle, your elbow should have a slight bend of around 15 to 20 degrees. If your arms are straight, the crutches are too tall. If you're hunching, they're too short.
The forearm cuff (the band that sits around your lower arm) should sit about 2.5cm below your elbow. Not on it, not halfway down your forearm.
Why this matters. Crutches set at the wrong height don't just feel uncomfortable, they shift the load to the wrong parts of your body. Too tall and you're shrugging your shoulders with every step, compressing your neck and upper back. Too short and you're hunching forward, straining your lower back and reducing your stability. Neither position is sustainable for more than a few days, let alone a full recovery period.
Our crutch specifications page and how to adjust your crutches guide cover the setup process in detail, with measurements for different heights.
Top tip - you can also watch video demonstrations via our How To Video Guides.
The Basic Weight Bearing Technique
Once your crutches are correctly set up, the movement pattern is the same regardless of your weight bearing category. What changes is how much load you allow through the affected leg at each step.
The three point gait (for NWB and PWB). This is the standard pattern for crutch walking when you're protecting one leg.
Start standing upright, both crutches on the ground beside you. Move both crutches forward together by about one step's length. Then step through with your affected leg, placing it according to your weight bearing instruction (no contact, toe touch only, or partial weight). Finally, bring your stronger leg through to meet or pass the crutches. Repeat.
The key is moving the crutches and the affected leg together as one unit, then stepping through with the stronger leg. Not the other way around.
Looking ahead, not down. Almost everyone looks at their feet when they first start using crutches. It feels safer. It isn't, because it throws your posture forward and reduces your awareness of what's ahead of you. Practise looking up and ahead, using your peripheral vision for the ground immediately in front of you.
Keeping your shoulders down. The instinct is to tense up and hunch. Actively think about dropping your shoulders away from your ears. Tension in the upper body makes crutch walking significantly more tiring and increases the strain on your neck and upper back.
For the full technique guide including how to manage stairs, slopes, and different surfaces, our guide to how to walk with one crutch and how to use crutches on stairs are worth reading alongside this one.

Making Your Crutches More Comfortable for Daily Use
If you're using crutches for any significant length of time, comfort is not a secondary concern. Discomfort leads to compensatory movements, compensatory movements lead to secondary injuries, and secondary injuries extend your recovery.
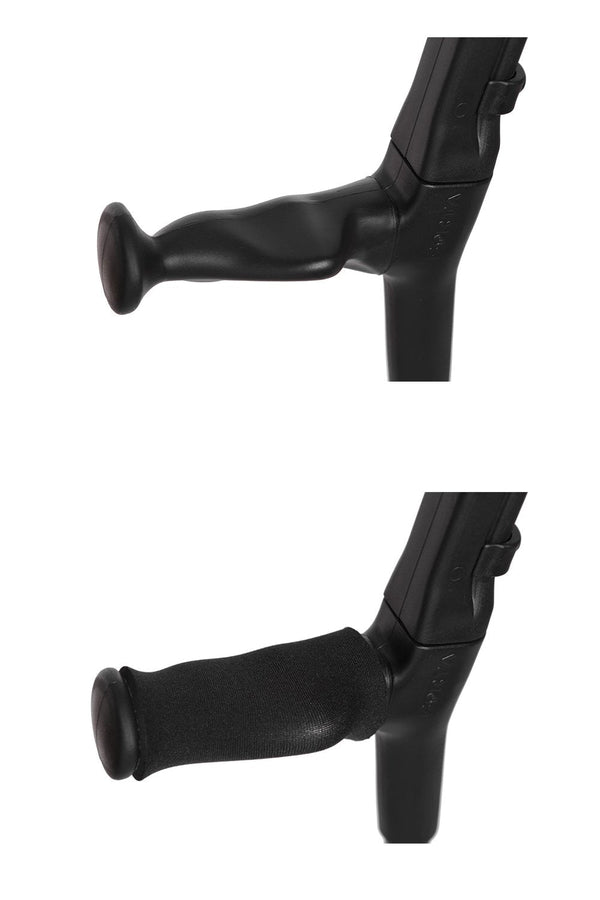
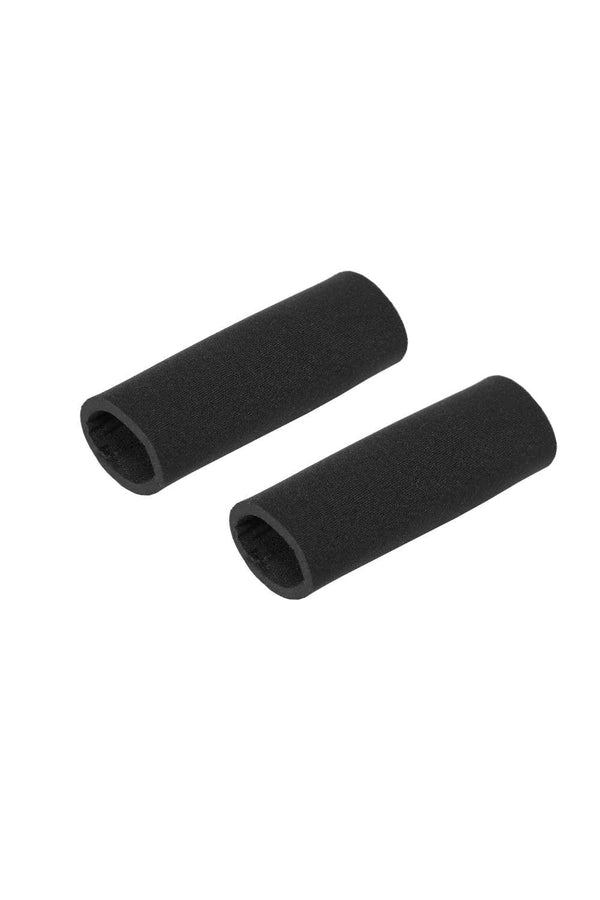
Handle comfort. The handle is where most of the load goes, and a hard, poorly padded handle will cause palm soreness, blisters, and wrist strain relatively quickly. Soft neoprene grips add cushioning to the handle, absorbing impact and reducing pressure on the palm. If your hands are sore after more than a short walk, this is the first thing to address.
Cuff comfort. The forearm cuff sits against your arm for hours at a time. A cuff that's too tight, too loose, or poorly padded will rub, restrict circulation, or simply fail to give you the support it should. Cuff covers add padding and protect the skin from the repetitive contact that causes bruising and abrasion.
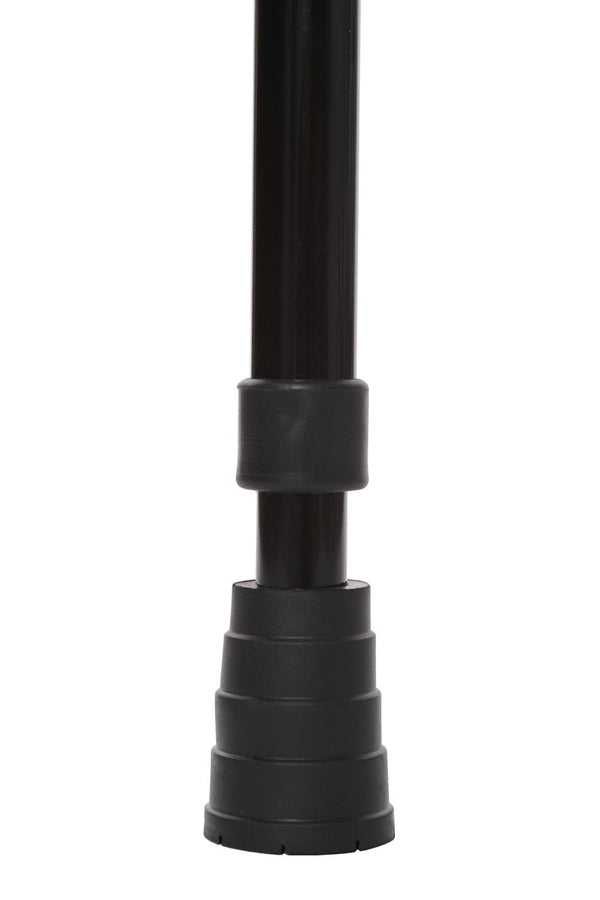
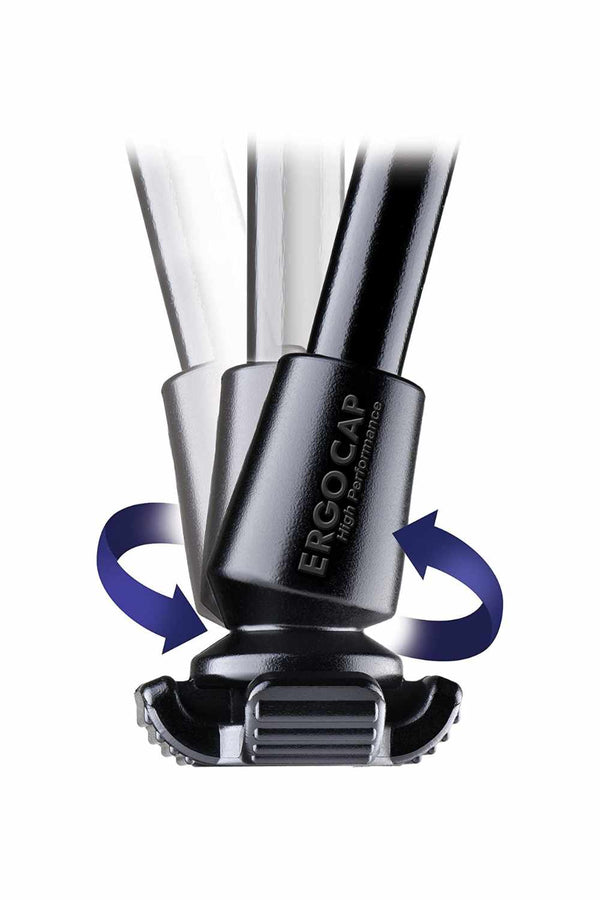
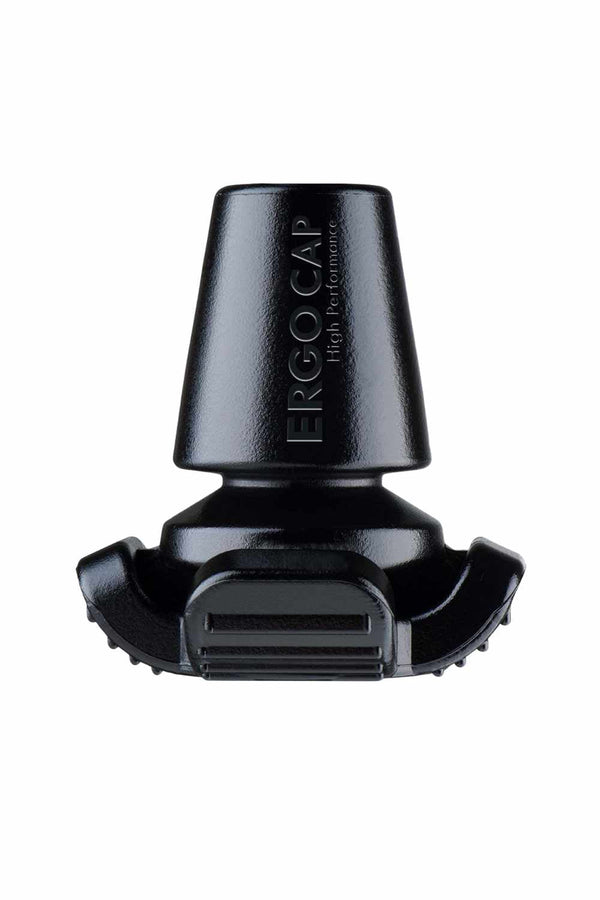
Ferrule condition. A worn ferrule on the base of your crutch reduces grip, increases the effort required to stabilise yourself, and is a genuine slip hazard. Check your ferrules regularly and replace them before the tread wears flat. Replacement ferrules are one of the most important and most overlooked parts of crutch maintenance.
The muscles crutches work. Using crutches for weight bearing is genuinely physically demanding. Your triceps, shoulders, chest, and core all take on significant load. If you're finding it exhausting, that's normal, particularly in the first week. It does get easier as you build strength. For more on this, our guide to the muscles crutches work is both reassuring and useful.
Protecting Your Wrists During Recovery
Wrist pain is one of the most common complaints from crutch users, and it's almost always avoidable with the right setup and technique.
The load through your wrists during crutch walking is significant, and if your crutches are too tall, your wrists end up bearing weight at an unnatural angle. Getting the height right is the single most effective thing you can do for wrist protection.
Beyond that, our guide to protecting your wrists when using crutches covers the full picture, including exercises to build wrist strength during recovery and specific adjustments that help.

When to Progress and When to Hold Back
Recovery is rarely linear, and the temptation to do too much on a good day is one of the most common reasons recoveries stall.
Your weight bearing progression should be guided by your surgeon or physiotherapist, not by how you feel on a particular morning. A good day does not mean you've healed faster than expected. It means your body is doing its job, and respecting the timeline protects that progress.
That said, if you're experiencing significant pain, new swelling, or a sudden change in how the affected area feels, contact your medical team. These can be signs that something needs attention, and earlier is always better.
If you enjoyed this, you might also like: